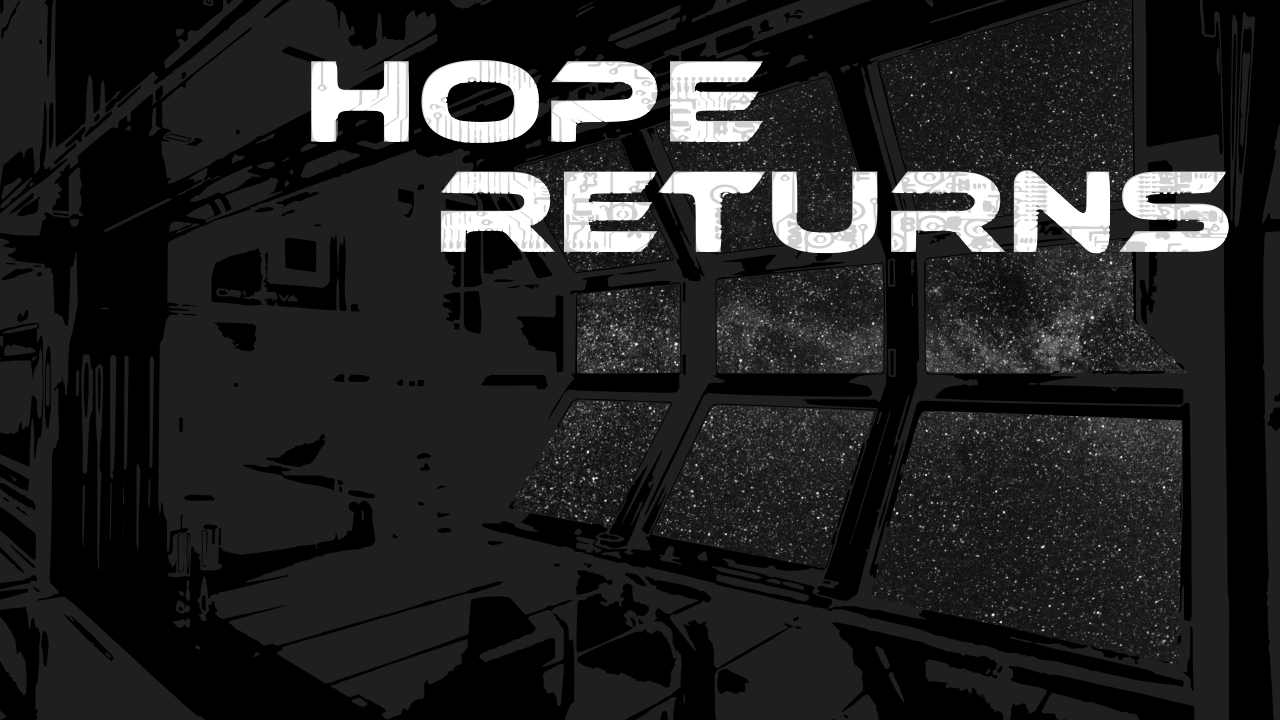
Hope Returns
Behind the Backgrounds
Quick Note:
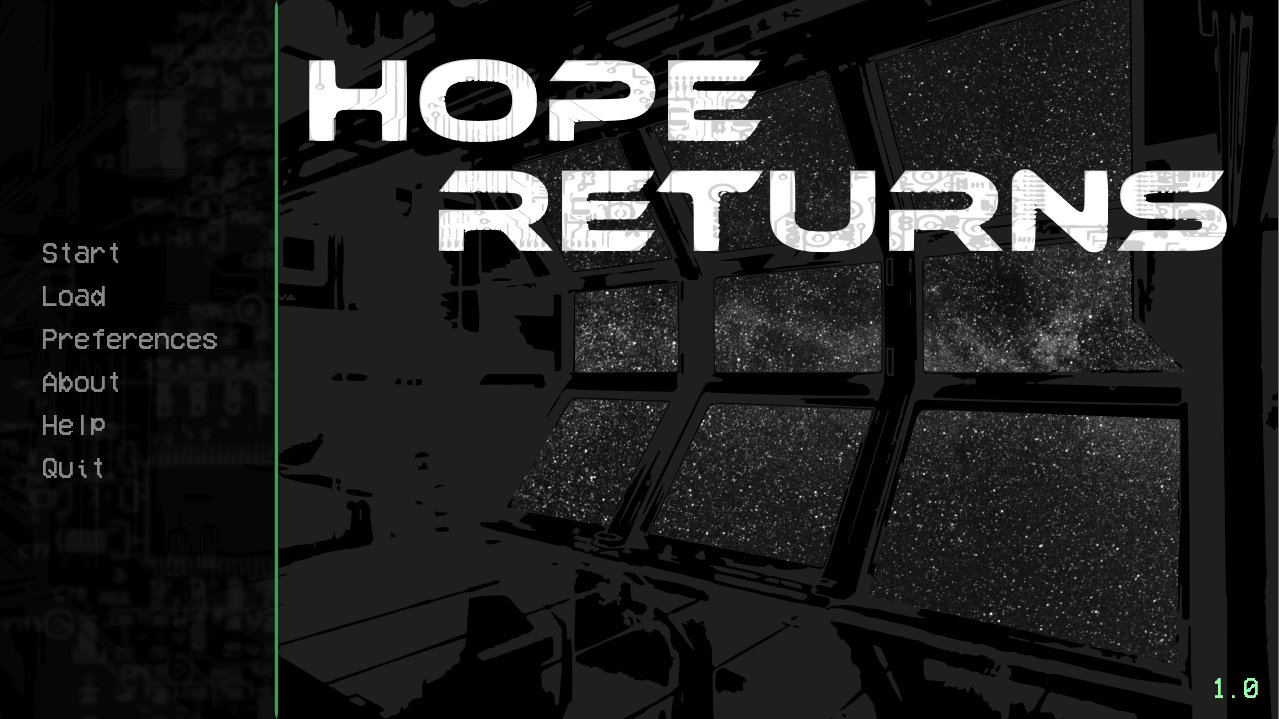
Hello there! Last week, I finished up my second VN project, Hope Returns, for the Shoot for the Stars Jam hosted by my friends over in the Devtalk+ Discord server. After receiving so much positive feedback, I decided I'd give y'all a special treat and discuss some of the process behind making this game. Today's post is on Backgrounds.
The Thought Process:
At the outset of this 13-day jam, I knew that my time was limited. From discussions with other jam participants, I was intrigued with the idea of using black-and-white minimalism to simplify the process without sacrificing aesthetic attractiveness. However, let's not beat about the bush on this next point - I'm not a background artist. As all non-background artists are well aware, that left me with a limited set of choices in which to proceed: Hire a background artist or use existing assets (preferably free ones). Given the time-frame involved, I went with Option 2.
So, in summary, I decided I would use existing assets for my backgrounds, and that I would somehow incorporate the black-and-white aesthetic. Great! So, uh, now what?
Choosing the Assets:
Given the jam's space and sci-fi theme, I needed to find backgrounds that would fit. However, anyone who has used royalty-free image services knows that anything that cannot be physically photographed (such as the inside of a space ship that doesn't exist yet) probably won't be available. Additionally, most artists who release their works to Creative Commons only do a few pieces from their total collection; nothing screams "ASSET FLIP!!!" louder than combining backgrounds from several different artists in piecemeal fashion. Luckily, I had an ingenious solution.
From prior game development in Unreal Engine 4, I had an Epic account full of assets that I had acquired on steep discount over the years. For those of you who don't know, Epic Games has sponsored Free for the Month sales since 2018, in which artists and developers can choose to participate by offering their assets at a 100% discount during that month only. So, being the enterprising dev that I am, I made sure to pick up the 5 or 6 free offers every month before the clock ran out. Needless to say, there were some goodies in my collection that would be perfect for a sci-fi theme:
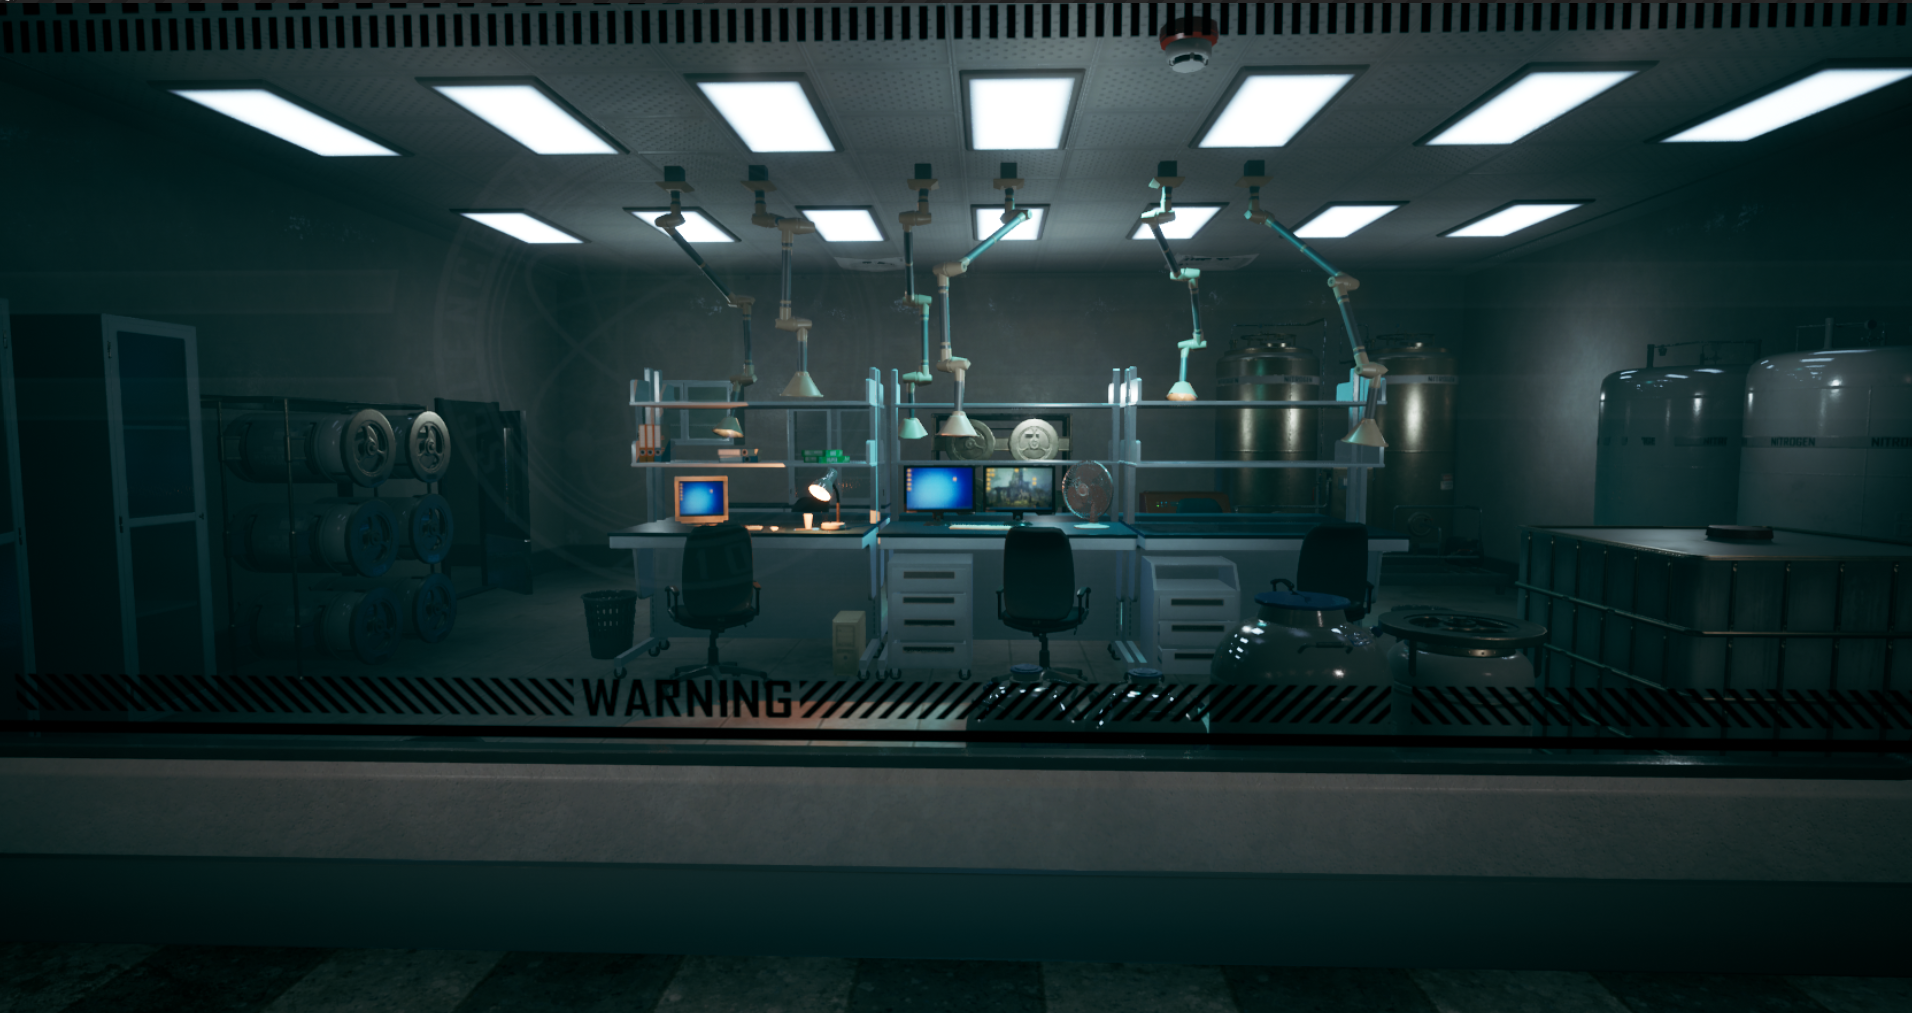
Science Laboratory - SilverTM - Free for the Month June 2020, currently sells for $150 USD
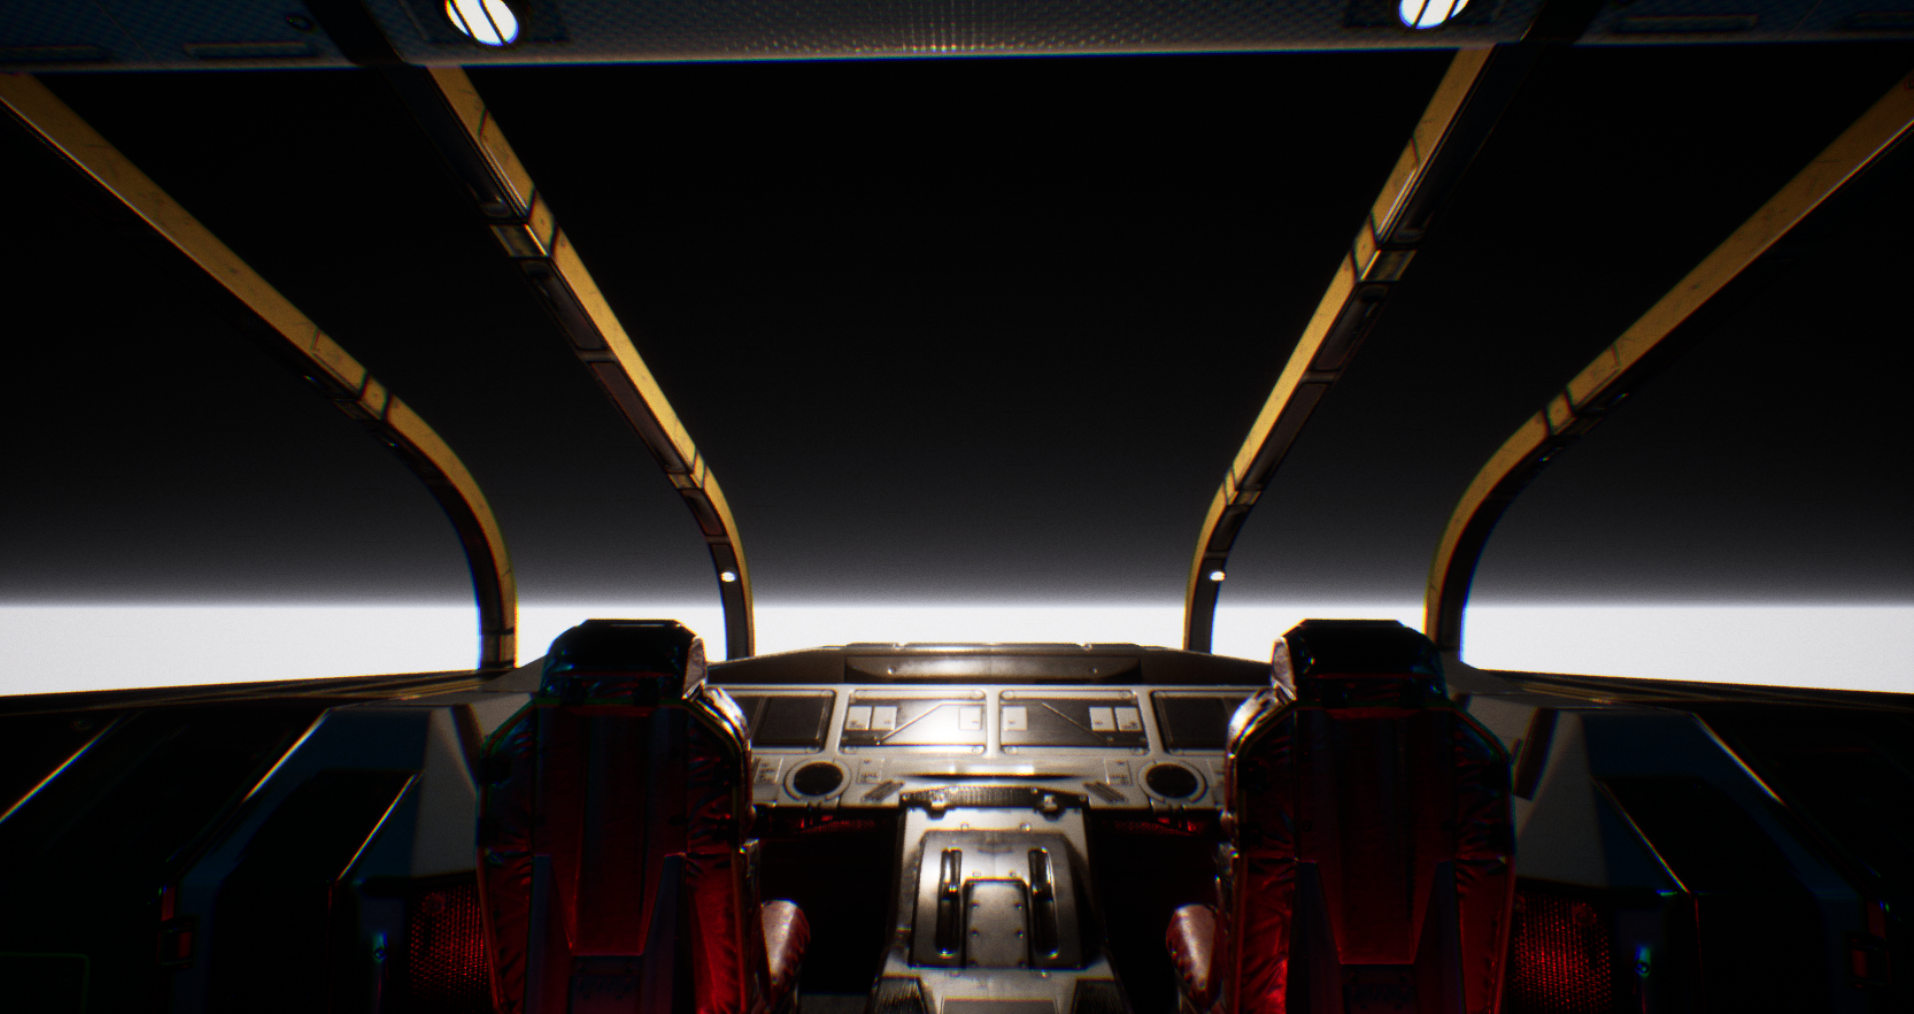
Spaceship Interior Environment Set - Denys Rutkovskyi - Permanently free
Modular Scifi Season 1 Starter Bundle - Jonathon Frederick - Permanently free since October 2019, originally $60 USD
I had also wanted to include the free Scifi Hallway scene created by Epic Games themselves; however, read the fine print, folks! While most assets on the UE4 Marketplace don't have restrictions on how they can be used once they have been purchased, content created by Epic Games are licensed for exclusive use with Unreal Engine only. So, besides that one scene that was a no-go, all of what I had selected was good to go.
3D to 2D
Now that I had my assets, the next step was probably the most arduous: Downloading the files and opening the assets in Unreal Engine 4. Each asset pack was over 1 GB in size, but the real kicker was the number of complex shaders that needed to be compiled each time I loaded a map for the first time. UE4 does have a reputation for fancy lighting, after all - but your computer pays for it. Anyway, after the hours spent compiling shaders, I was finally ready to do the quick and dirty part: Using the Snipping Tool to grab screenshots of the scenes I wanted.
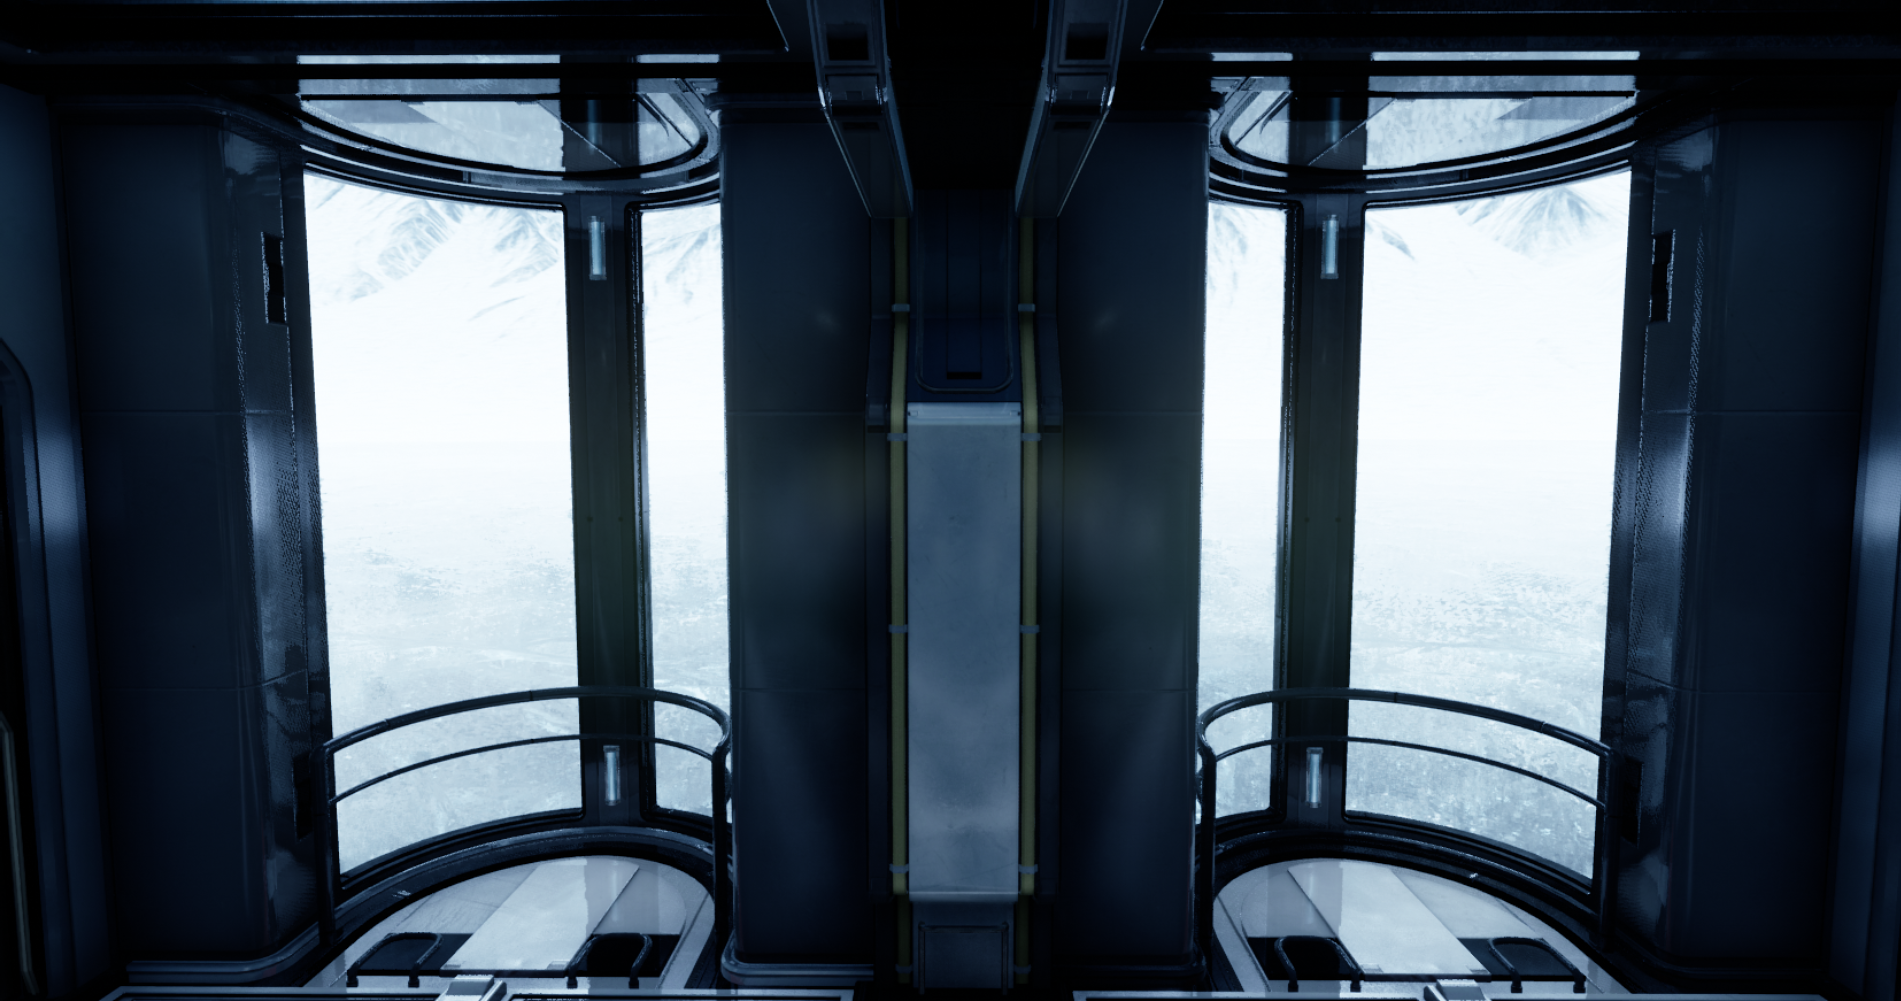
Since I am not a masochist, I knew from the outset of this game jam that I would be using Ren'Py, not UE4, to create my entry. Ren'Py can do a lot of things, but opening UE4 files is not among them. Besides, for this particular project, I didn't need impressive 3D motion graphics; I just needed static backgrounds in good old 2D. So, how do you get 2D images of 3D maps? Well, in some way or another, you use screen capture. I took the camera, moved it around each map to a few select locations, and took some snips. Not wanting to go overboard, I took about 25 images in total, or about 8 from each asset pack.
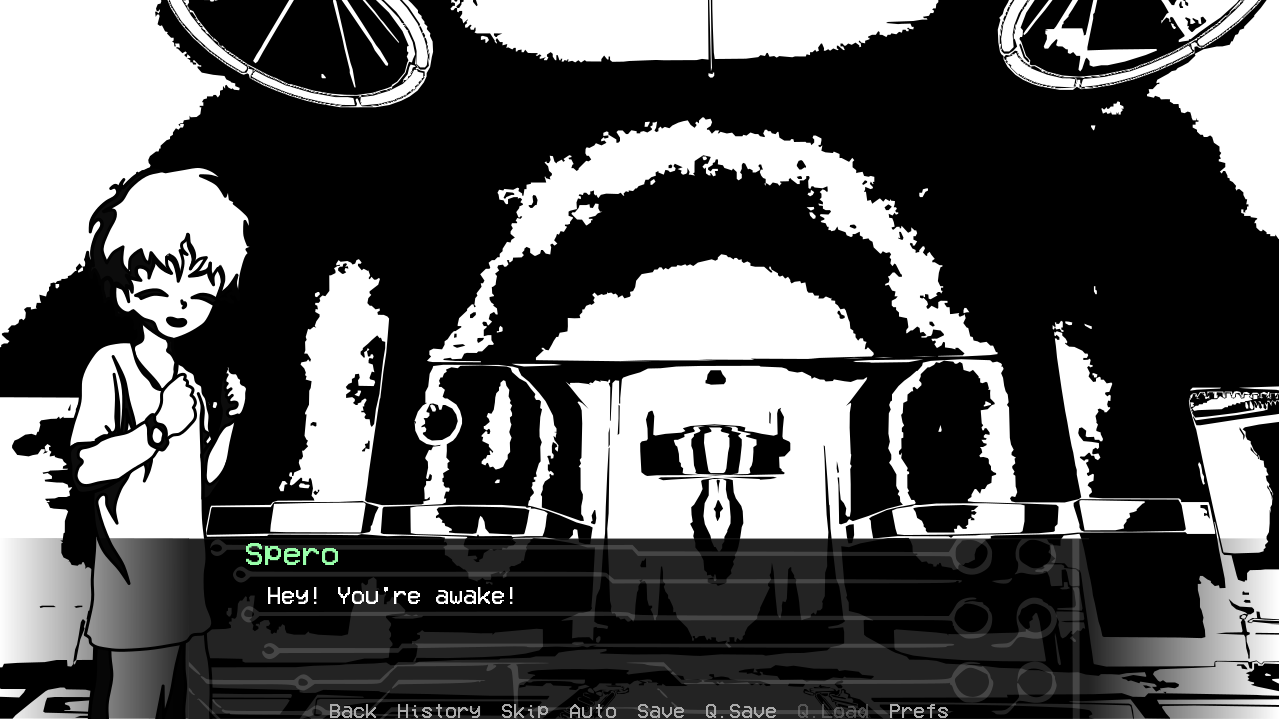
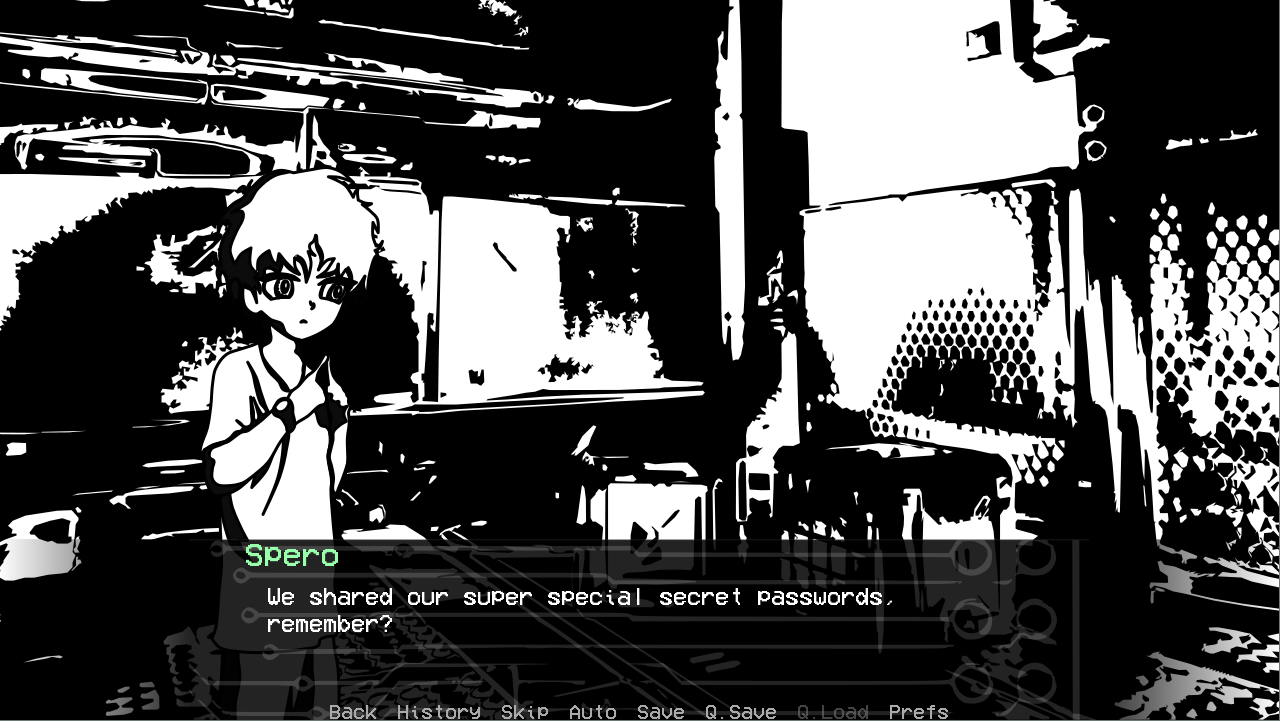
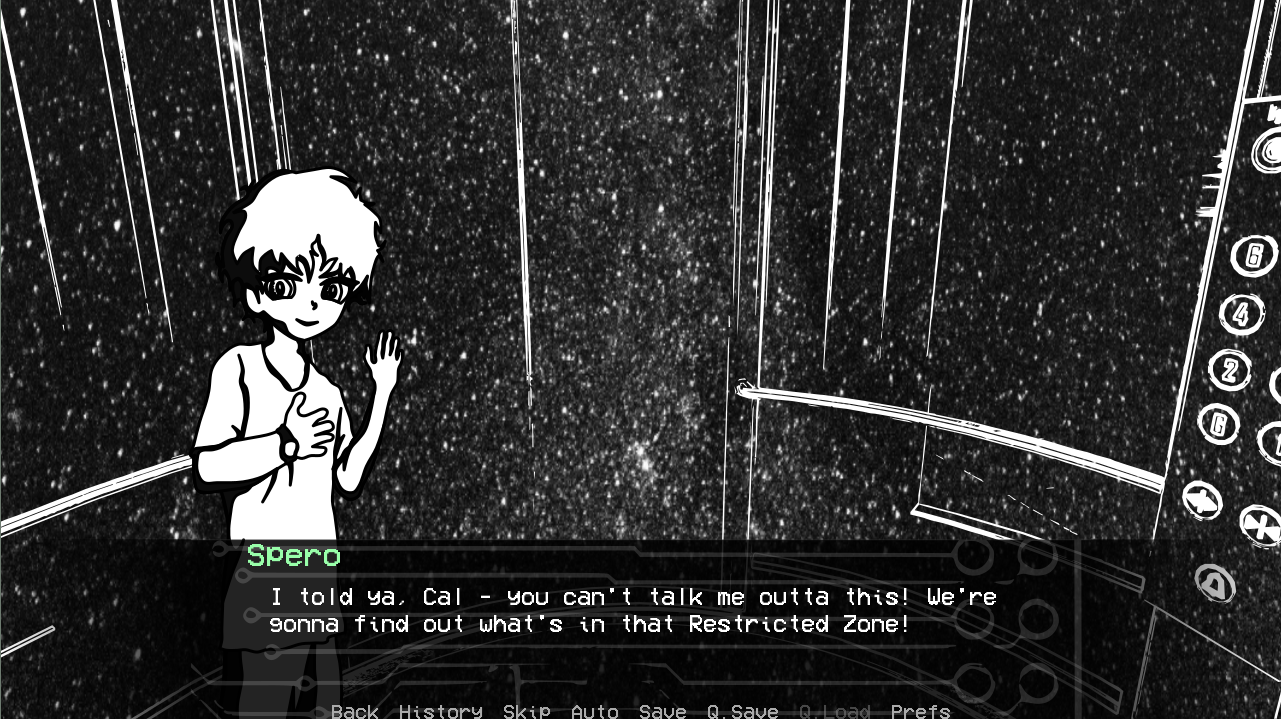
Black & White
I had about 25 images in color, and they needed to be converted to black and white, somehow. Additionally, among my images, I needed to determine which ones I would use for each scene: Hospital, Cafeteria, Bedroom, Elevator, Spero's Room. After all, these assets were pretty generic - you won't see something like a "Scifi Hospital" on the marketplace because it's too niche. However, first things first: Convert my snips into aesthetically-pleasing black and white images.
My current go-to for art creation is the program Inkscape, which is used predominantly for vector graphics. One of the cool tools it includes is the option to Trace Bitmaps, which uses an algorithm similar to Potrace (a conversion program created by Peter Selinger in 2001.)
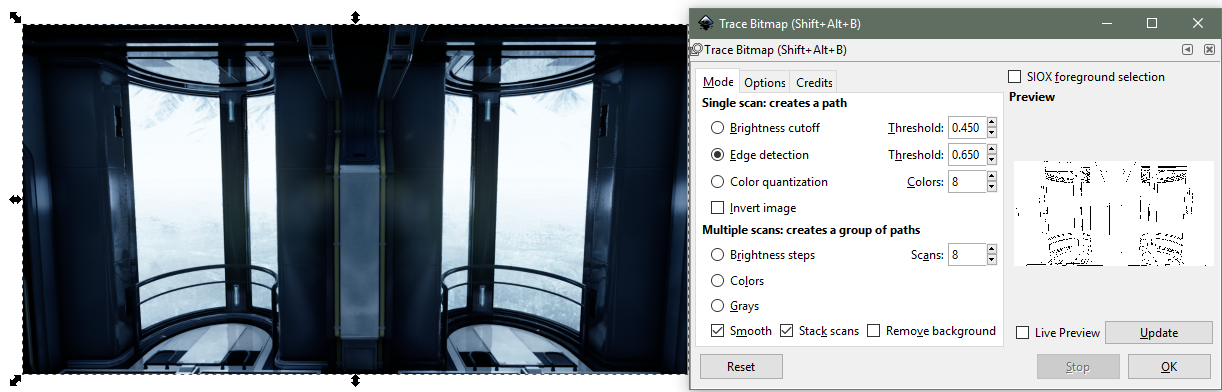
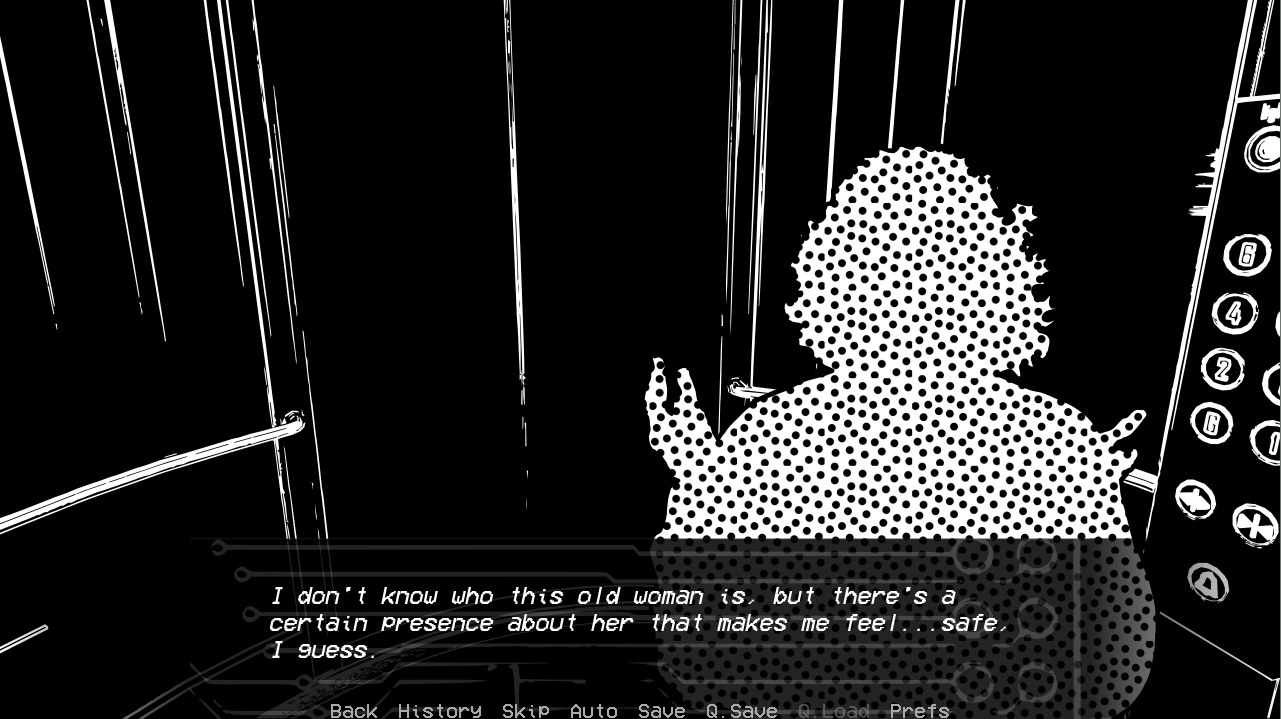
There are several different ways that Inkscape can perform the image trace. The simplest method uses a Brightness Cutoff, where pixels brighter than a certain value are made white, and all other pixels are made black. The algorithm then draws a bunch of vertices around the regions of black pixels, and boom, you have a traced image. (Note that the white regions are not drawn, so you end up with just a black vector shape over a transparent background.) This method is decent for certain images with high contrast, but can leave out details.
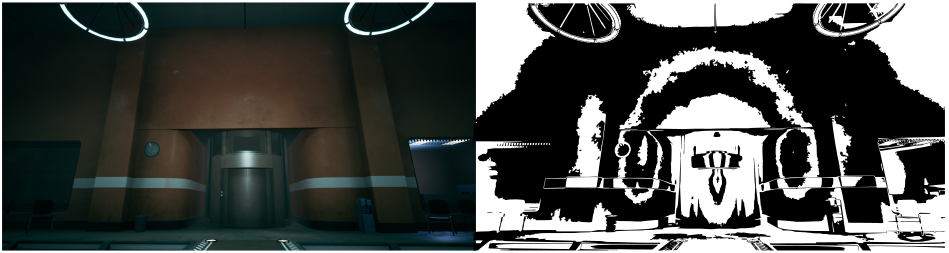
The next method is Edge Detection using the Canny algorithm. Increasing the Threshold value increases the amount of color change required for an edge to be recognized, and also reduces the edge thickness of the resulting vector shape that is drawn. This method is also good for images with high contrast and intricate details, but has the downside of not really capturing brightness variations within the scene.
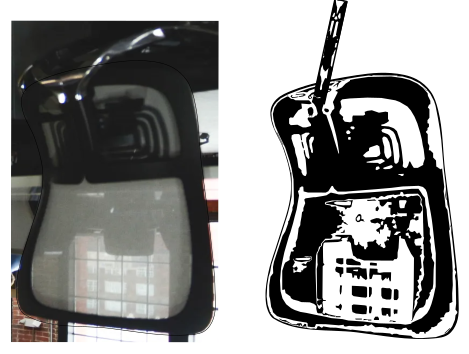
Then, there is the Color Quantization method, which first reduces the image down to the specified number of colors. Then, each color region is assigned either black or white, and then the program draws the total black region as before. This method is what I used for the majority of my backgrounds, but has the downside of doing poorly on color gradients due to posterization effects.

Final Background Images
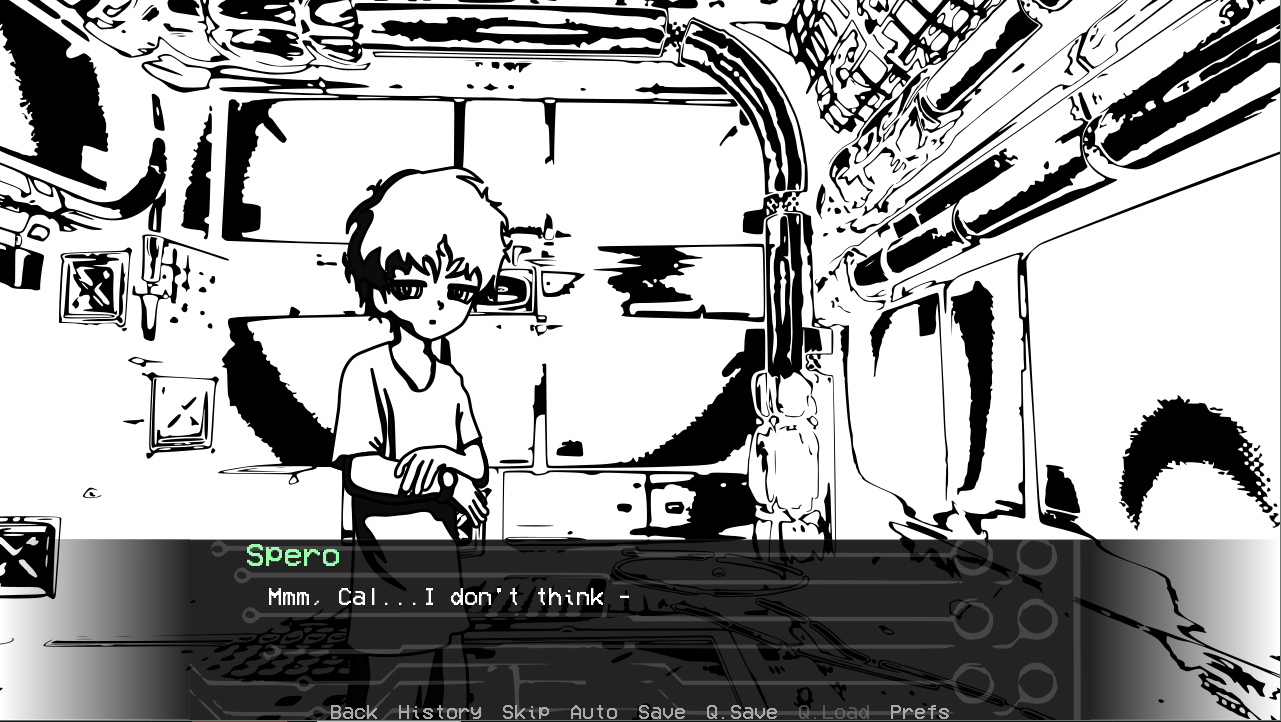
As I said before, I needed to figure out which images would work best for each scene. The elevator was easy, since one of the asset packs already contained a functional elevator that I could grab a snip of. Due to the gradient on the elevator doors, edge detection ended up giving the best result. Note that only the black parts of the middle image below are opaque - the rest is empty transparent space. This makes the elevator image perfect for placing in front of a scrolling starry space image, as you end up seeing in the final game. Note, too, that you actually see the image negative in the final game, since we all know that darkmode is superior!

The cafeteria and Spero's room were fairly straightforward. I used the color quantization method on some images of a room with boxes and, voila - I had something that looked vaguely space-station-grunge and could pass as the locations specified in the narration.
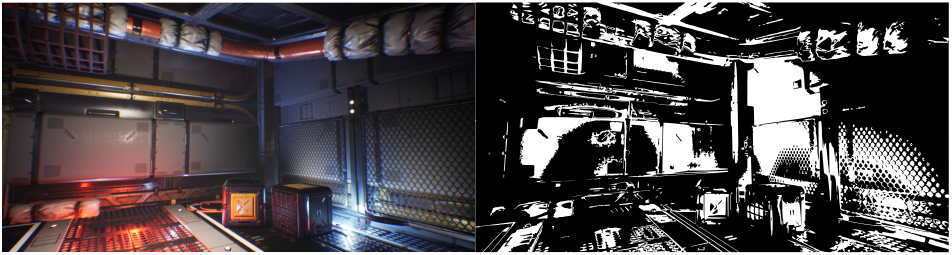

The hospital was perhaps the hardest scene for me to find a suitable background for. None of the images of empty rooms filled with boxes screamed "sanitary medical facility." Then, as I was going through some of my images for the chase shown in the intro animation (blink and you'll miss it!), I discovered that the one with the big, round lights was strangely perfect. Something about those lights gave it just the right feel...
Of course, when you're making such abstract art as these, you'll end up with some strange results. For example, the monitor that the nurse uses in the hospital scene is actually based on the backrest of an office chair. Who'd have thought?
In Conclusion
So, there you have it - how I went from having absolutely no idea how I was going to make half a dozen scifi background images to developing my own little process for creating abstract black & white masterpieces (I should hope...) If you have any thoughts, comments, or questions, please leave your comments below, and of course, be sure to check out Hope Returns and all the other amazing jam submissions!
- West of Entropy
Leave a comment
Log in with itch.io to leave a comment.